In angling there are two kinds of tackle. The kind you need, and the kind you need just a little more urgently.
What to get, what to learn, what to do when a fish bites, and how to set out.
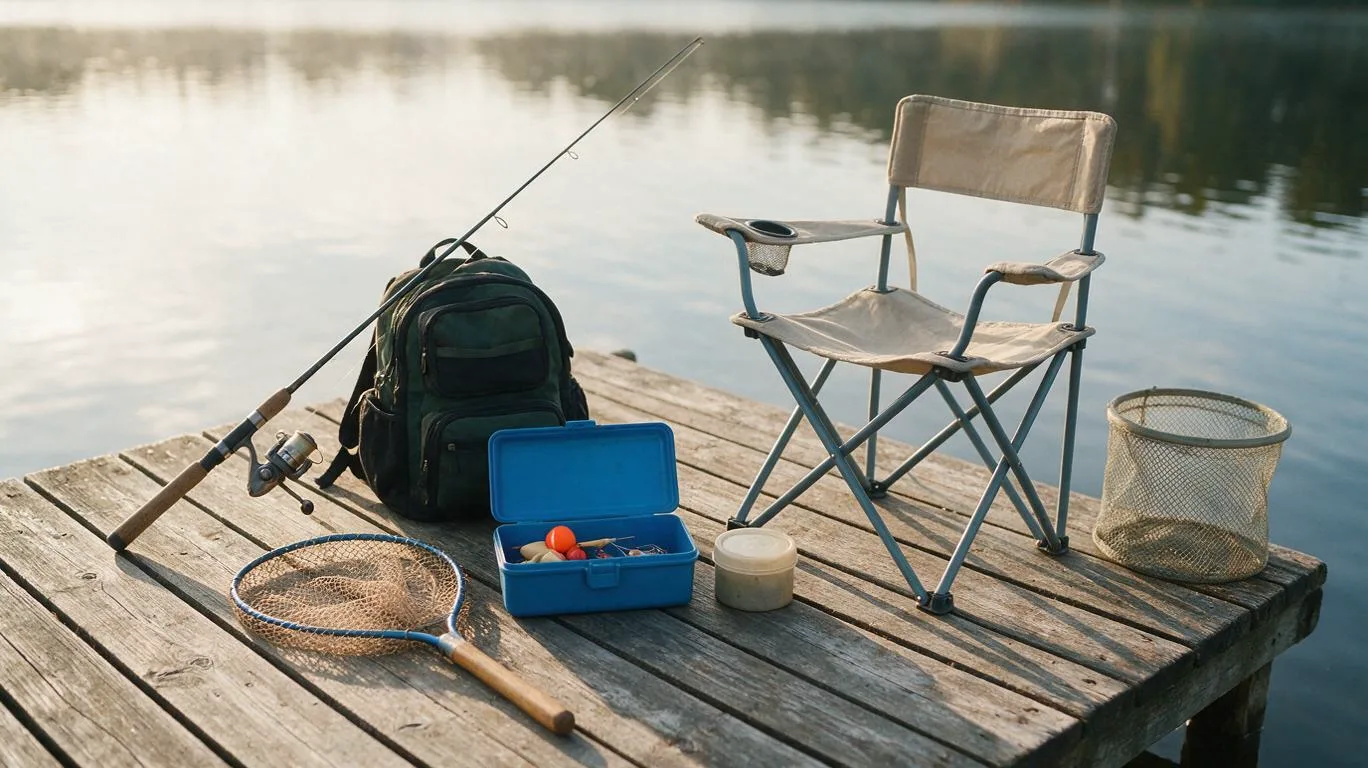
The good news: to begin with, the first kind is enough and it fits into one bag. A rod, a reel, line, a few hooks, something to put on the hook and a landing net. Everything else can wait until you find out which of the five techniques catches you more than you catch fish.
This page takes you through four steps: tackle, small skills, the bite and the first trip. We don’t promise you will catch something straight away. We do promise that on the bank you will know what you are doing.
Step 1: tackle
Tackle: why one rod really isn’t enough
It isn’t enough because every technique asks for something different. One will do you to start with, though, provided you know what it is for. Here are the seven things every set-up is made of.
Rod
A longer rod casts further and controls a float better; a shorter one is handier on an overgrown bank. The action tells you where the rod bends: a tip action bends only in the top section, so it is quick and accurate, while a through action bends along the whole blank and forgives mistakes when you are playing a fish.
Reel
The reel stores the line, helps you cast and winds it back in. Its most important part is the drag, also called the clutch: when a fish pulls harder than the setting you have chosen, the spool gives line before the line can break.
Mainline, braid and hooklength
Monofilament is stretchy, cheap and holds knots well, which makes it the best choice for a beginner. Braid is thinner for the same breaking strain and has almost no stretch, so you feel every touch, but it forgives nothing. The hooklength, or leader, is the last and usually slightly weaker piece carrying the hook: if you get snagged, it breaks and you keep the rest of the rig.
Hook
Hook sizes run the opposite way to what you would expect: the higher the number, the smaller the hook. You choose it to suit the bait and the mouth of the fish, not the size of fish you are hoping for. Whether the hook may have a barb is a matter for the rules of your water.
Bait, lures and groundbait
Bait is what goes on the hook: natural, such as a worm, sweetcorn or bread, or an artificial lure that tempts a predator by its movement. Groundbait goes into the water to draw fish to your swim and keep them there. Less is usually more.
Landing net and unhooking mat
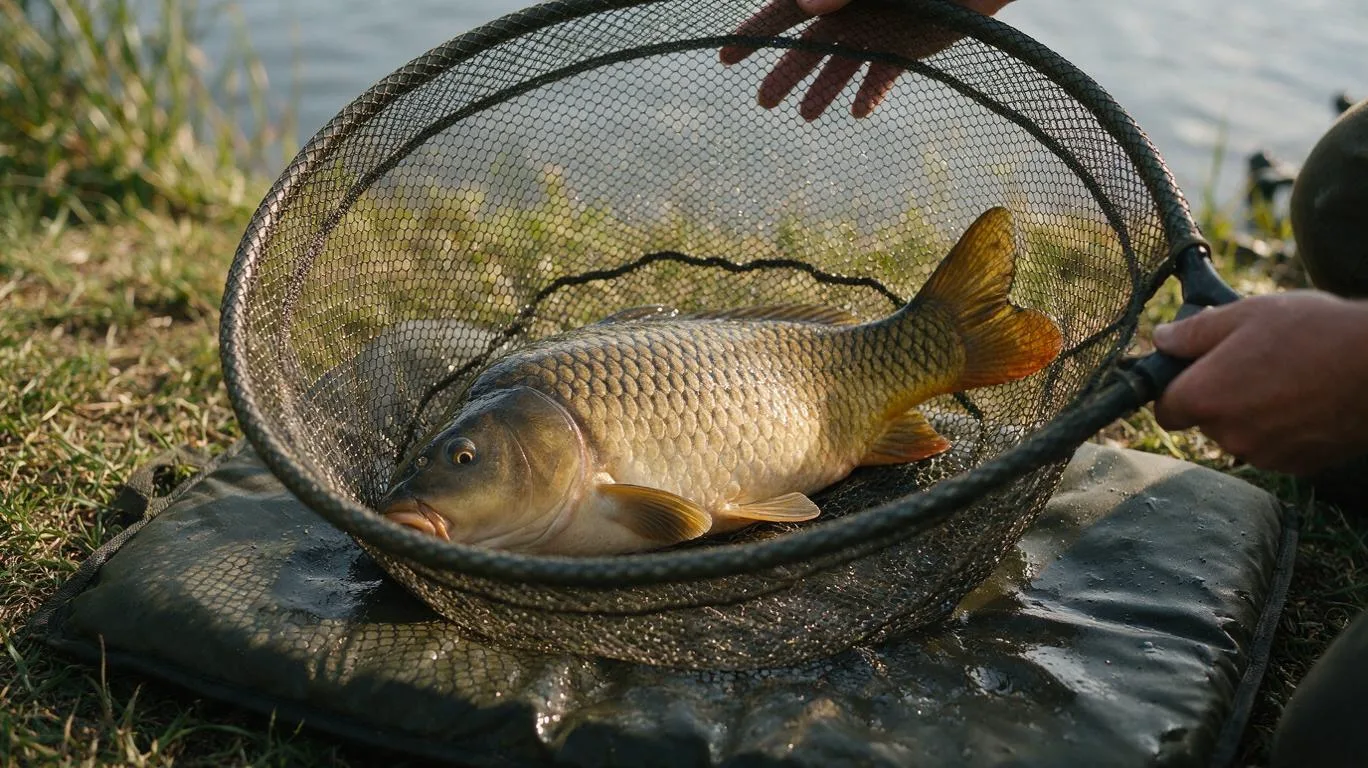
You lift a fish from the water with a landing net, not with the rod or by the line. A soft, wet unhooking mat protects a bigger fish on the bank from stones and dry grass. Both count as tackle, not as accessories.
The little things that matter
A disgorger or forceps, a measure, line clippers, a few split shot and spare hooklengths. They fit in a pocket and are missed at the water at precisely the moment they have been left at home.
Build your kit
Pick a technique and how serious you are. We will show you what you cannot do without, what is worth adding later and what can happily stay in the shop.
Technique
How serious you are
Carp fishing
Carp fishing is the only technique whose kit list runs to two pages. You only need the first paragraph.
Don’t go without
A stronger rod and a reel with a dependable drag
Strong mainline and ready-tied hooklengths
Leads and bait: boilies or sweetcorn
A large landing net
An unhooking mat
A rod rest or a simple pod
Worth adding later
A bite alarm
A second rod, if the rules of the water allow it
A chair and an umbrella
A weigh sling and scales
Leave for now
A bivvy and bedchair
A bait boat
A third set of alarms
Lure fishing
A lure angler can carry everything needed in one shoulder bag. The hard part is not filling a second.
Don’t go without
A light lure rod and a small reel
Mono, or fine braid with a leader
A handful of lures: a spinner, a spoon, a soft lure, a plug
A wire trace wherever pike live
Long forceps or pliers
A landing net
Worth adding later
Polarised glasses
A folding net that clips to your belt
A second rod with a different casting weight
Leave for now
Three boxes of lures in every colour
A boat and a fish finder
Feeder fishing
The feeder forgives a great deal, but not an inaccurate cast. Practise that before you go back for more feeders.
Don’t go without
A feeder rod with interchangeable quivertips
A reel and mono mainline
Two or three feeders of different weights
Ready-tied hooklengths
Groundbait and hookbait
A rod rest and a landing net
Worth adding later
A bucket and a riddle for groundbait
A chair or a seat box
Spare quivertips of different stiffness
Leave for now
A match seat box with ten arms
Twenty kinds of additives and dips
Float fishing
The cheapest way to the water and the best school there is. Learn to fish the float and you will not be lost with any other method.
Don’t go without
A light rod and a small reel loaded with mono
Two or three floats and split shot
Hooks to nylon
A plummet
Bait: maggots, sweetcorn or bread
A landing net and a disgorger
Worth adding later
A rod rest
A little groundbait and a catapult
More floats for different conditions
Leave for now
A long competition pole
A case holding a hundred floats
Fly fishing
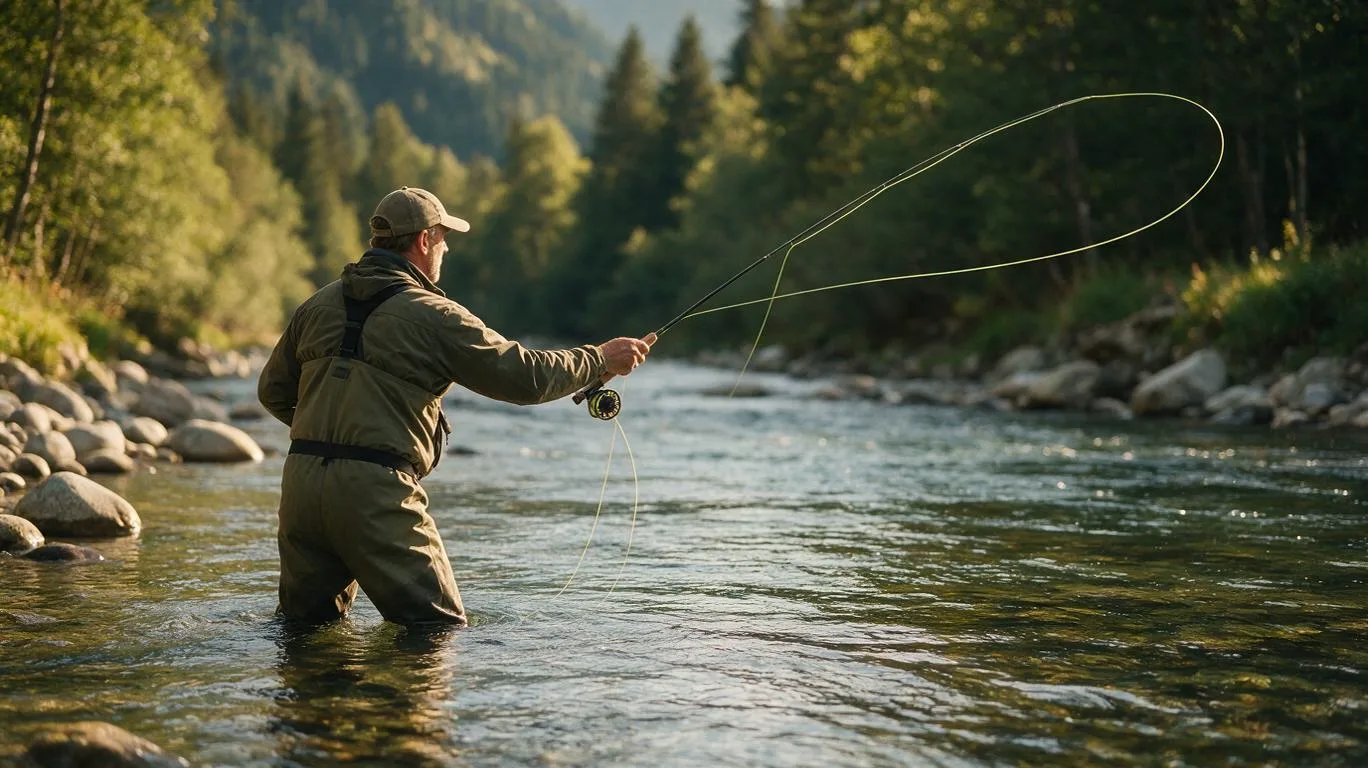
In fly fishing you cast the line, not the fly. That is why rod, reel and line must be of the same line weight.
Don’t go without
A fly rod, reel and fly line of matching weight
A tapered leader and some tippet
A box with a few dry flies and nymphs
Forceps and line nippers
A landing net with soft mesh
Worth adding later
Polarised glasses
Waders and wading boots
A casting lesson with someone experienced
Leave for now
A fly-tying vice and a stock of feathers
A second rod for streamers
A waistcoat with twenty pockets
‘He said he only needed one more rod. He said the same about the previous six.’
Step 2: skills
The small skills that decide
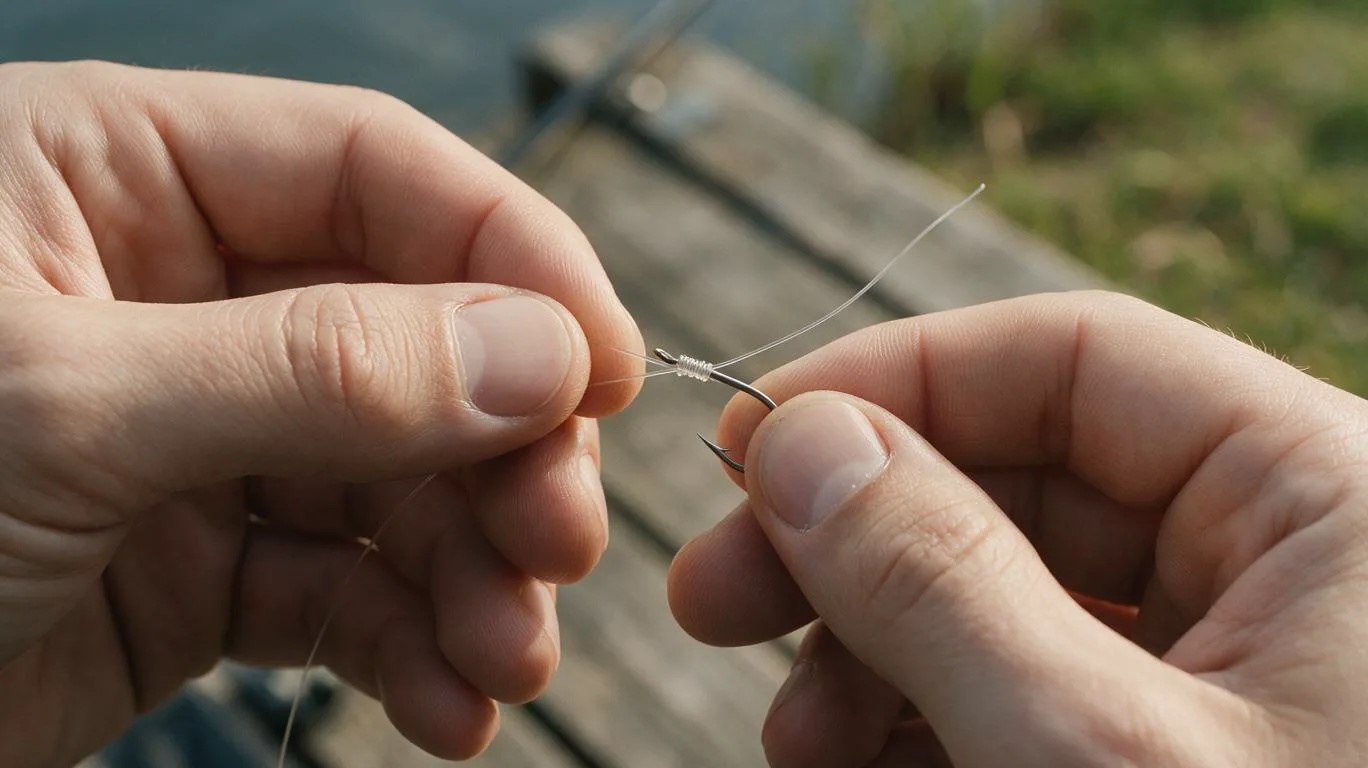
There is always at least one knot between you and the fish. And it is usually the weakest point of the whole rig. Four knots will see you through for years. Learn them at the kitchen table, not in the rain on the bank.
standing linetag endsecond line
Improved clinch (tucked half blood knot)
What it is for. Ties a hook, swivel or lure to mono or fluorocarbon of fine to medium diameter. Not suitable for braid, which slips in it.
Step 1 / 6Pass the end of the line through the eye of the hook and pull about fifteen centimetres through.
Step 2 / 6Wrap the tag end five times around the standing line, working away from the hook.
Step 3 / 6Bring the end back and pass it through the small loop that has formed right beside the eye.
Step 4 / 6Then tuck the end through the big loop you have just made.
Step 5 / 6Wet the knot and draw it down slowly by pulling the standing line, sliding the coils up to the eye.
Step 6 / 6Trim the tag end, leaving two to three millimetres.
Tip. The coils should sit neatly side by side like a spring. If they cross over, undo the knot and start again. With thick line four turns are enough.
Palomar knot
What it is for. A strong knot for a hook, snap or lure that also holds in braid, and works with mono and fluorocarbon too.
Step 1 / 5Double about fifteen centimetres of the line and pass the resulting loop through the eye.
Step 2 / 5Tie a loose overhand knot with the doubled line so the hook hangs below it. Do not tighten it.
Step 3 / 5Pass the loop over the whole hook or lure.
Step 4 / 5Wet the knot and tighten it by pulling the standing line and the tag end together.
Step 5 / 5Trim the tag end close to the knot.
Tip. The two strands should lie side by side in the knot, not crossed. As it tightens, the loop should seat above the eye, not stay caught on the shank of the hook.
Surgeon’s loop
What it is for. Makes a fixed loop in the end of the mainline or hooklength, so you can attach a ready-tied hooklength loop to loop. Reliable in mono and fluorocarbon.
Step 1 / 5Double back ten to fifteen centimetres of the end of the line.
Step 2 / 5Tie a loose overhand knot with the doubled line.
Step 3 / 5Pass the end of the loop through the same knot once more.
Step 4 / 5Adjust the loop to the size you want and wet the knot.
Step 5 / 5Tighten by pulling the loop one way and the standing line together with the tag end the other. Trim the tag end.
Tip. When joining loop to loop, the connection should look like two interlocked loops, not a knot strangling one of the lines. If it strangles, you have threaded it the wrong way round.
Double uni knot (double grinner)
What it is for. Joins two lengths of mono, or braid to a mono or fluorocarbon leader, even when the diameters differ.
Step 1 / 6Lay the two ends against each other so they overlap by about twenty centimetres.
Step 2 / 6Form a loop over both lines with the end of the first one and wrap that end four or five times around both lines, inside the loop.
Step 3 / 6Pull the tag end to snug the knot lightly, not yet fully tight.
Step 4 / 6Do the same with the end of the second line on the other side. With braid, make six to eight turns.
Step 5 / 6Wet both knots and pull the two standing lines so the knots slide together until they butt up against each other.
Step 6 / 6Tighten firmly and trim both tag ends close to the knot.
Tip. Slippery braid needs more turns than mono. Always test the finished join with a firm pull between your hands: if it is going to give, let it give now.
Plumb the depth
When float fishing, put a plummet on the hook and slide the float until only its tip shows above the water. Now you know where the bottom is and can fish the bait on it or just above it. Two minutes of plumbing save two hours of fishing empty water.
Cast accurately, not far
Pick a fixed marker on the far bank, a tree or a post, and cast at it every time, smoothly and without force. Look behind you before you swing. Fish are usually closer to the bank than a beginner thinks.
Check the hook point and the line
A sharp point catches on your thumbnail under a light pull; a blunt one skates across it and belongs in the box for retired hooks. Run the last metre of line between your fingers: if you feel a rough patch, cut it off and tie the hook on again. After every decent fish and after every snag.
Wet your knots
Dry line heats up from friction as a knot is drawn tight and weakens exactly where it has to hold. So wet the knot first, tighten it slowly and smoothly, and test it with a pull when you are done.
Treat a hook like a knife
When you move, hook it into a rod ring and tighten the line; carry ready-tied hooklengths in a wallet. When lure or fly fishing, protect your eyes with glasses. And if a hook goes deep into your skin, don’t force it out; see a doctor.
Step 3: the bite
Bite! What is actually happening at the other end of the line?
Hours of calm, then ten seconds in which three things have to be done in the right order. Try five situations on dry land. Here a mistake does not cost you the fish.
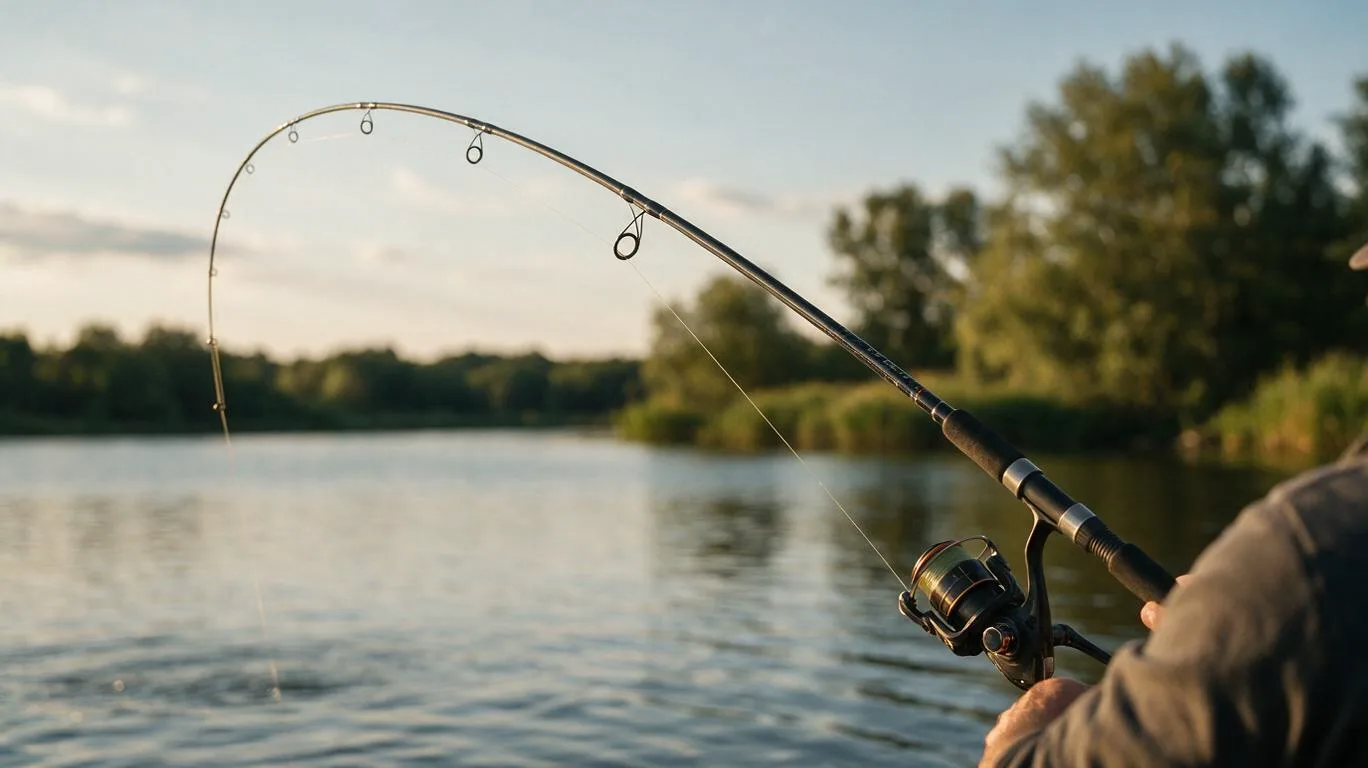
Playing a fish is not a tug of war. It is a chain of small right decisions: strike in time, let the rod and the drag do the work, keep the line tight and take your time at the net. Set the drag before the first cast so that line comes off smoothly under a firm pull by hand, at roughly a quarter to a third of its breaking strain. Once a fish is on, it is too late.
Step 4: to the water
The first fishing trip
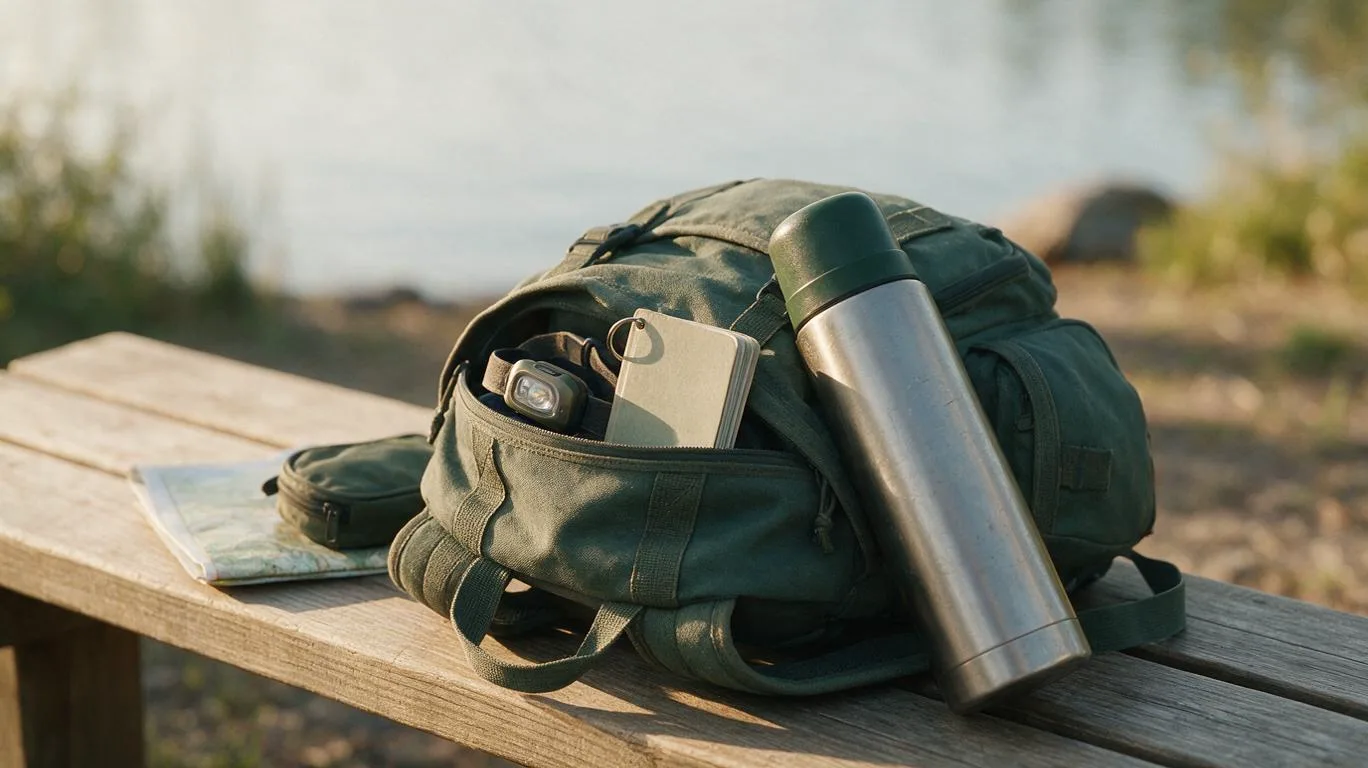
For your first time choose a quiet stillwater with easy access, one technique and a few hours. Better still, go with someone who already fishes. The checklist below adapts to the technique you pick.
Which technique are you packing for?
0 / 0 packed
Paperwork: papers first, rod second
In both Slovakia and the Czech Republic you need two documents. The first is a state fishing licence, issued by the authorities. The second is a permit for the specific water. It is issued by whoever manages the fishery, most often a branch of the national angling association, and the licence alone is not enough without it. The associations themselves will tell you how to get a first licence and where to buy a permit.
With the permit come the rules of the water. Read them before you cast: they set when and how you may fish, which fish you may keep, how catches are recorded and what you must carry on the bank. Rules differ by country and by water and change over time, so always check the rules of your water.
Keep quiet. Heavy footsteps on the bank carry through the water further than you would think.
Don’t set up right next to another angler or cast into their swim. Just ask where they are fishing.
Take home everything you brought. Above all offcuts of line, which birds get tangled in.
Handle a fish only with wet hands, hold it low over the mat or the water and return it as quickly as you can.
Respect closed areas and no-fishing signs. A spawning ground is not a secret hotspot; it is a nursery.
You may not bring a fish home from your first trip. You will bring home wet boots, three tangled hooklengths and an inexplicable urge to go again. That is exactly how it starts. As for that second, more urgent kind of tackle, we will talk when you need a garage.
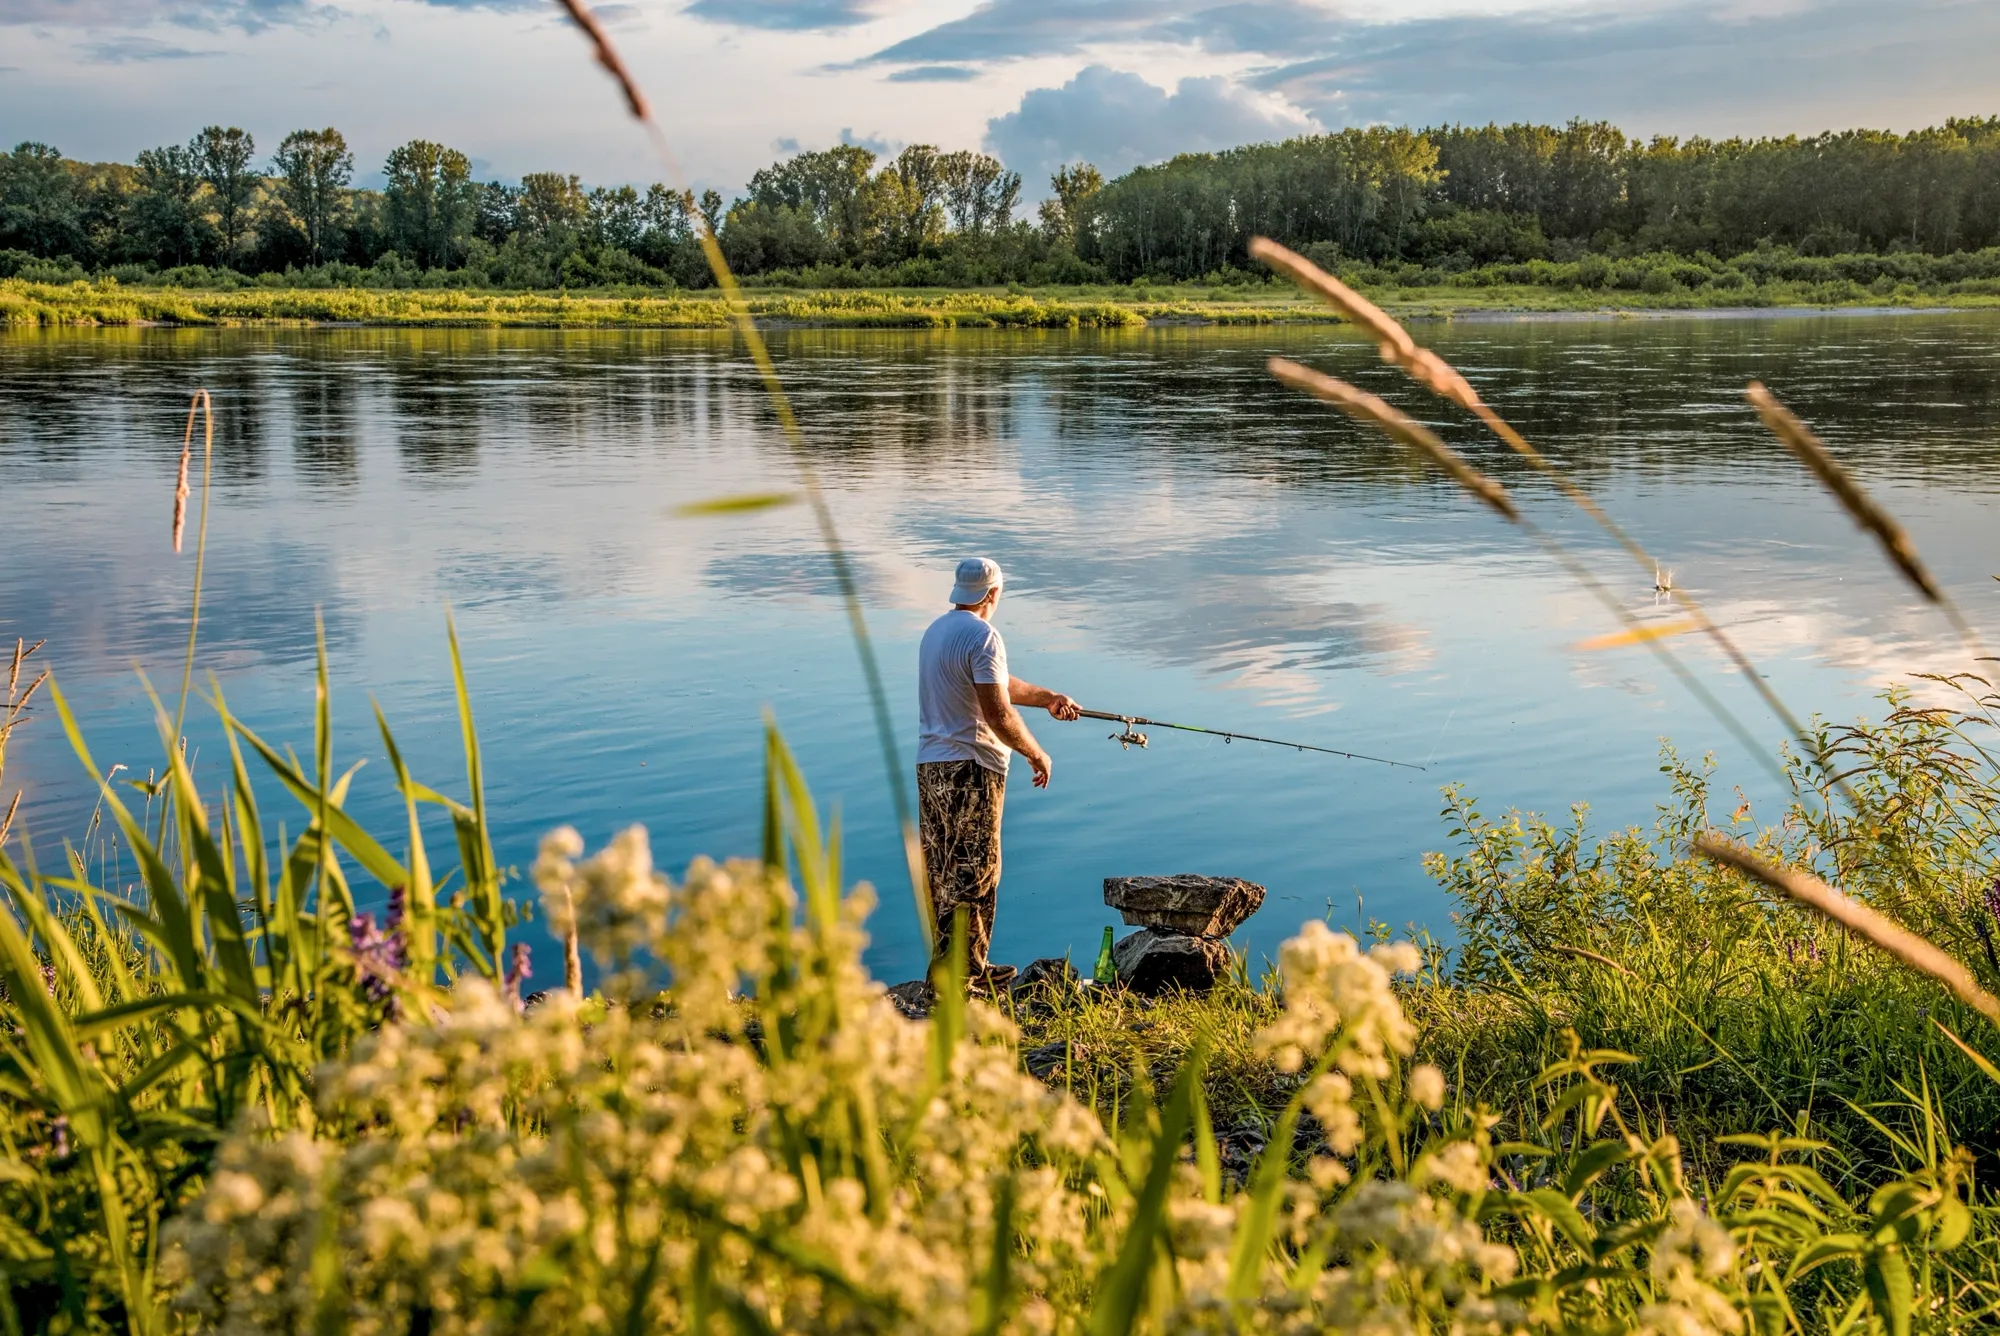 Quietly Mad?Quietly Mad? Welcome to the World of Anglers
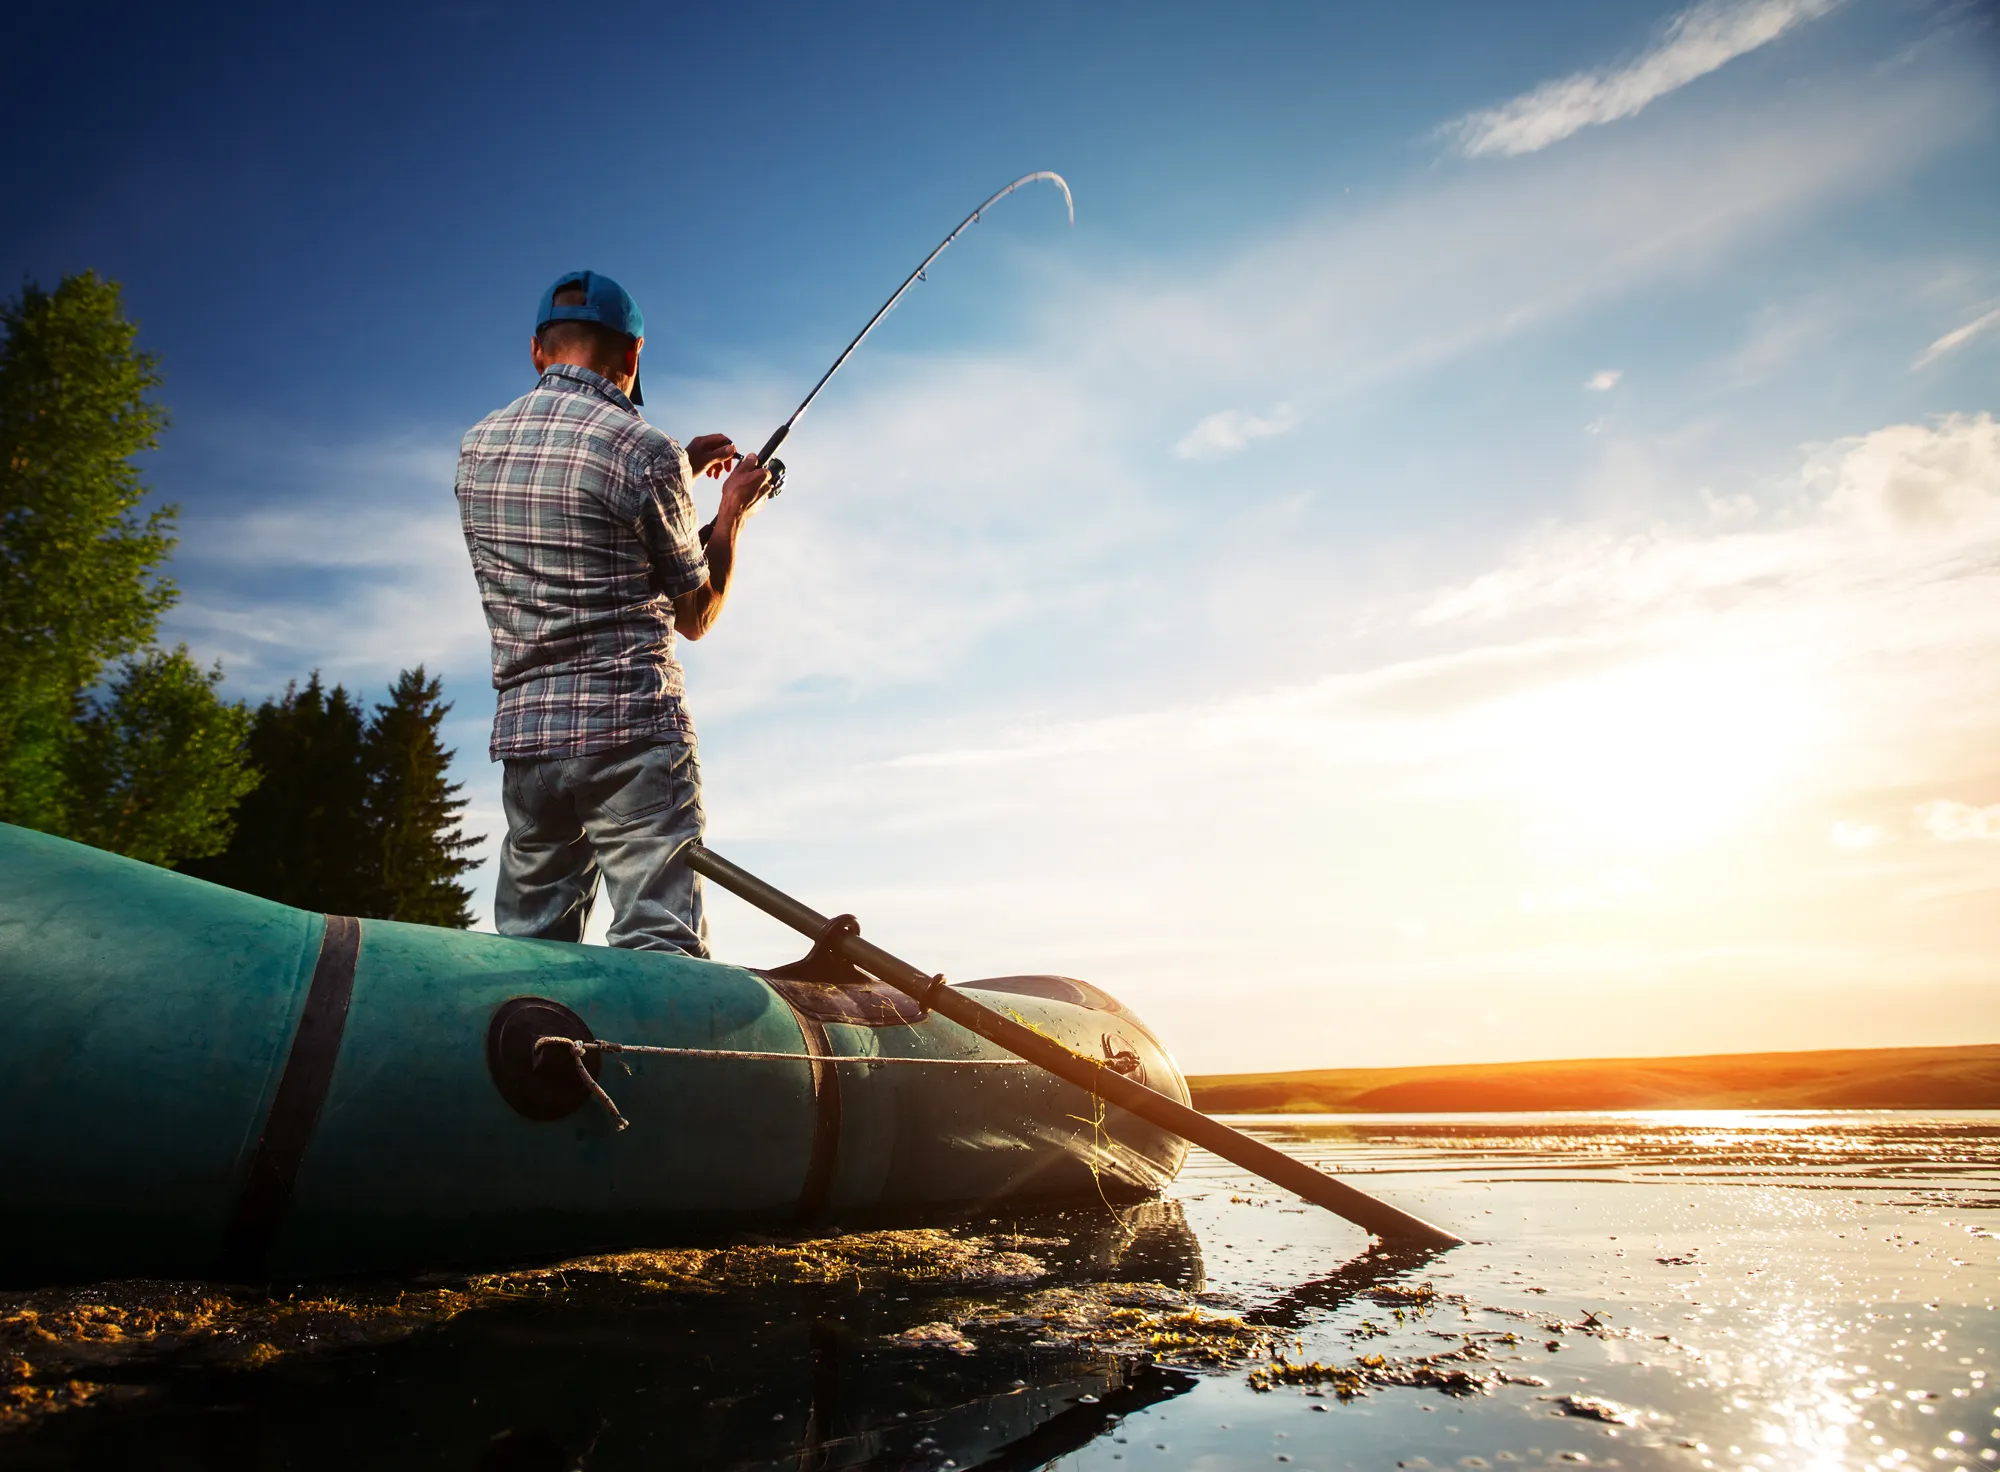 Fish atlasWho Actually Lives in Our Waters?
 Ten waters on one mapWhere to Fish: From the Local Pond to the Big Trips
 Sea fishingWhen the Village Pond is No Longer Enough